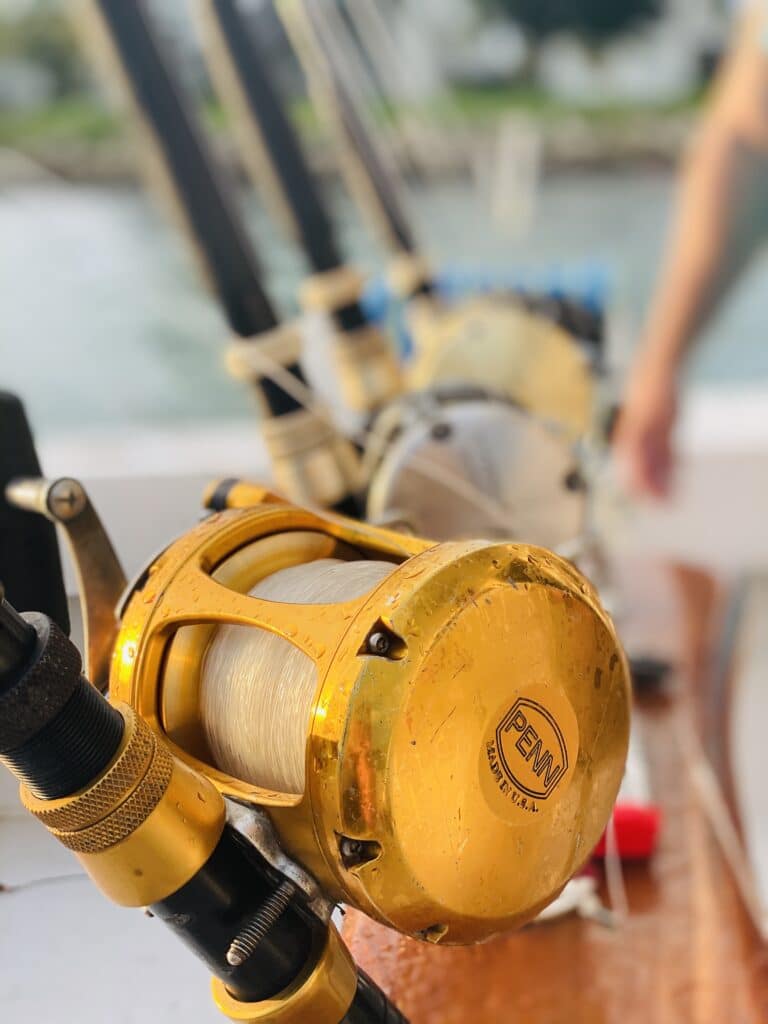
Proper cleaning and maintenance of fishing reels are essential to ensure their optimal performance and longevity. Neglecting these crucial steps can lead to decreased efficiency, decreased casting distance, and potential damage to the reel’s internal components. This professional guide aims to provide you with a step-by-step approach to effectively clean and maintain your fishing reel, enabling you to enjoy a seamless fishing experience.
Step 1: Gather the necessary tools and materials
Before commencing the cleaning process, gather the following tools and materials:
1. Soft cloth or towel
2. Toothbrush or soft-bristled brush
3. Reel oil and grease (specifically designed for fishing reels)
4. Reel cleaning solvent or mild dish soap
5. Screwdriver set (if required)
6. Cotton swabs
7. Small container for soaking small parts
8. Reel schematic (if available)
Step 2: Disassembling the reel
Refer to the reel schematic or manufacturer’s instructions to identify the screws and components that need to be removed for cleaning. Using the appropriate screwdriver, carefully disassemble the reel, keeping track of the order and placement of each part. Place the removed components in the small container for later cleaning.
Step 3: Cleaning the reel components
Using a soft cloth or towel, gently wipe away any dirt, debris, or excess grease from the reel’s exterior. For the internal components, dip the toothbrush or soft-bristled brush into the reel cleaning solvent or mild dish soap solution and scrub away any accumulated grime. Pay special attention to the gears, bearings, and spool. For hard-to-reach areas, utilize cotton swabs soaked in the cleaning solution.
Step 4: Soaking and lubricating small parts
Submerge the small parts, such as screws, washers, and springs, in the reel cleaning solvent or mild dish soap solution for a few minutes. This will help dissolve any remaining dirt or grease. After soaking, thoroughly rinse the parts with clean water and allow them to air dry. Once dry, apply a small amount of reel oil or grease to the appropriate areas, as indicated in the reel schematic or manufacturer’s instructions.
Step 5: Reassembling the reel
Carefully reassemble the reel, ensuring that each component is correctly aligned and secured. Use the screwdriver to tighten the screws to the recommended torque specifications, avoiding over-tightening, which may cause damage.
Step 6: Final touches
After reassembling the reel, wipe away any excess oil or grease from the exterior using a soft cloth or towel. This will prevent the accumulation of dirt and debris during your next fishing trip.
Step 7: Regular maintenance
To maintain the performance of your fishing reel, it is recommended to clean and lubricate it after every fishing trip or at least once a month, depending on usage. Regularly inspect the reel for signs of wear, such as loose screws or damaged components, and address any issues promptly.
Conclusion:
By following these professional guidelines for cleaning and maintaining your fishing reel, you can ensure its longevity, reliability, and optimal performance. Regular maintenance will not only enhance your fishing experience but also extend the the lifespan of your reel, allowing you to enjoy countless successful fishing trips.

